Saturday, June 20, 2015

All gone...

Spark Some Kreativity Saturday @ The Kraaft Shaak

The theme for this month's Kraaft Shaak Design Team is "Kill The Box". We have been tasked with using as much of the Mixed-Media Kit contents Heather sent each of the Design Teams Members. I was sent the "Desk Set" Mixed-Media Kit.

For Project one, which was to "Alter something contained in the Kit", I altered the Note Holder into a cute little Bunny Hole. The Second month we were challenged to make something wearable from items in your Kit. I made a Bracelet from the Finnabair Mechanicals and a t-shirt bag decorated with items in the Kit. You would think this Kit would be pretty depleted by now after all those items, but NOOOOOOOO - all her Mixed-Media Kits are just chocked full of stuff - papers, embellies, paint, mediums, book pages, play pages, map pages, mechanicals, micas, bling, die-cuts, and just so much more!!

It was fitting I create an organizer box for projects as my last project, using the very box this wonderful Mixed-Media Kit was sent in and also, in keeping with the theme of my Kit - Desk Set, I had to, right??

So this is the beauty I created, using as much of the items in the Kit as possible.


Here is a video showing all, well most of, the steps involved in making this Desk Top Organizer.


The Last Spark...


Wasn't that fun!!!

Here are some of the pictures I took along the way, as well as lots of pics of the finished product. It is just so gorgeous with all the micas, and glitters and glass beads, and that chalkboard paint - WOWZER!!!

The making of:  Adhered all the papers contained in the Mixed-Media Kit (except one very special page). Adding the Clipboard as a backstop AND actual chalkboard...


Note the descriptive sheet on the bottom? Not tore up as the other were, cuz I wanted to see this itemization Heather includes in each kit, every time I use my Project Organizer!!! That's mine - it has MY name on it!! WooHoo!!!


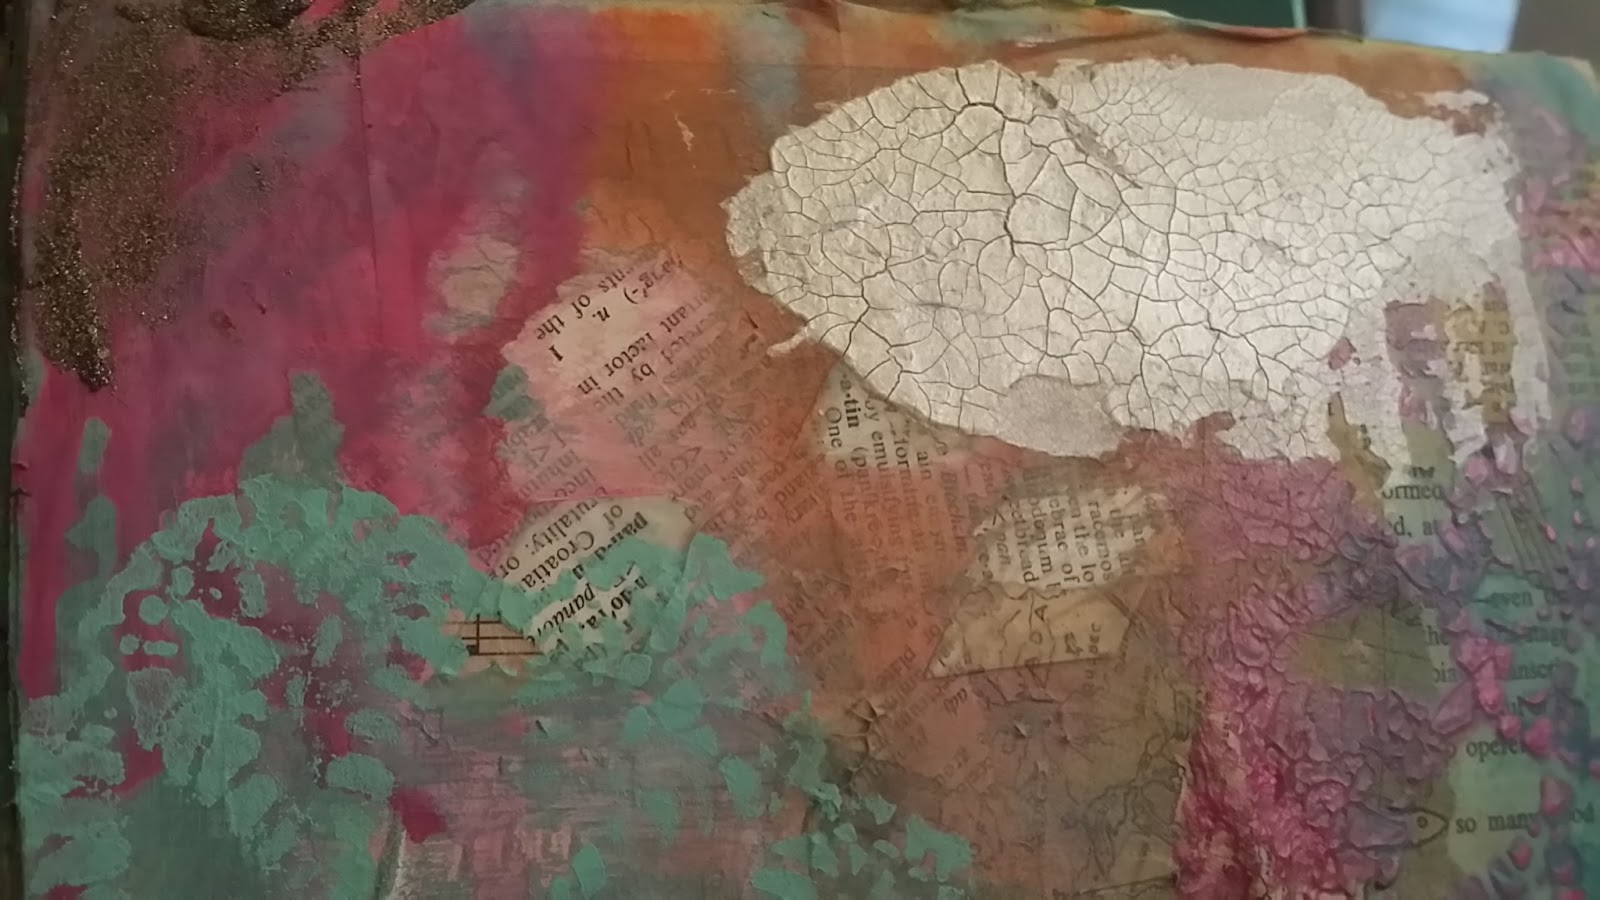
Closeups of all the micro beads, glass beads, sequins, art sugar, mechanicals, doilies, paper/pages, chalkboard paint, micas and mica flakes, crackle paste, stencil pattern, et al ... just such an amazing Kit!!!


 See all the amazing cracks in the Platinum Crackle Textured Paste!!! Just look at all those cracks and fine lines!!!


Love the sparkles here!!


Those Splash Micro Beads are just so yummy!!


See how that Charcoal Art Sugar Glitter glistens in the sunlight. It's soooo ultra sparkly!!


Oh, those toilet tissue holders just make wonder storage holders for scissors, tweezers, pens, brushes, pencils, rulers, glue, ribbon/twine... all the things I use when making projects!!


Isn't this Sea Breeze Chalkboard Paint the best seaside color ever!!! And it's super smooth texture feels like suede!!!


Sitting on my desk!!!

Thank you for playing along, and I hope this inspired you to make a desk organizer for your projects. The original Design Team Members current project for the Kraaft Shaak can be found on their blogs:

Sandra (Team Leader)
Shel
Dana

It has been a truly wonderful experience designing for the Kraaft Shaak, and an honor to represent Heather and her Store. And I am Blessed to have worked with such talented Ladies. You inspire me to push myself further, to think outside the box (shoes Shel??) and be a better kraafter. Thanks for sharing the journey...

Please visit the Kraaft Shaak for all the amazing products carried, and for this and other Mixed-Media Kits.

Supplies:
Kraaft Shaak Multi-Media Kit - Desk Set
Lindy's Stamp Gang Micas
Art Ingredients Micro Beads
Art Ingredients Glass Beads
Art Ingredients Mica Flakes
Art Ingredients Art Sugars
Finnabair Art Basics 3D Gloss Gel
Prima Marketing Inc Chalkboard Paints
LiquidTex Gesso
Distress Paints

But WAIT!!! There's more!!!   ...To introduce you to the Mixed-Media Kit, Heather is offering a Thank You coupon for reading my Blog. You get $5.00 off any Mixed-Media Kit currently in stock, no restrictions. BUT, this amazing deal expires June 30th, 2015. Use coupon code: SAVE5SYLVIA

Please take advantage of this, you won't be disappointed cuz that Kit is a powerhouse of goodies!!! Plus you get to CHOOSE items!! Like Paint, and paste and alterable items - like a tray, or pencil holder, or canvas tote, or canister, or artist canvases, or Door-Frame Picture Holder, or Chalkboard easel, or my personal fave - THE DESK SET!!! There is NO Kit on the market today that offers such variety and choice!!!


Thank you for stopping by, now head on over to the Kraaft Shaak and see all the wonderful products!!!

Bye for now...


Sunday, June 14, 2015

Wings of Summer

Over on Google+, Sheri Whitfield has an Altered Tag Community where we swap tags every month. This month's theme is "Wings of Summer"..

While looking thru my stash of paper for another project, I stumbled upon this Designer Paper Pak from K & Company called SW Nature and thought, "Hey, this would be perfect for the Altered Tag Swap"


I used one of the double-sided paper to make a #10 size tag which is 8 1/2 inches by 4 1/8 inches. I wanted it substantial becuz the paper is just so darn pretty with all the winged goodies and the glitter highlights. I then fancy-cut some of the butterflies and layered onto the tag.


I stamped two versers onto deli-paper which I then tore, cuz I love ragged edges, and adhered to the tag after applying gesso in those areas - that way, the words can be read, since the paper is pretty transparent.

I made antennae for the bigger butterflies out of Vintaj Bronze 20 gauge wire. It just adds that cute factor!!


I wrapped the tag in jute twine which I had separated becuz it was too thick, and I wanted a more "earthy" look with the pulled-apart twine.


To finish the tag, I added ribbon, twine, embroidery thread and wired ribbon to the top. I coiled the wire ribbon to look like antennae also, giving the whole tag a winged look.

I just love how this turned out, and I hope Sandra ArtfullyMade4U does too, cuz she is the recipient of this!!!


Thanks for stopping by. I appreciate all the views and comments, thank you!!

Supplies:
Various Ribbons

Seasonal Wreathe

I gotta tell ya, I am in love with these Id Badge Holders!!! I had so much fun making the Beyond the Sea Booklet, I just had to make something else with these little gems.

Because it is sooooo easy to load these with Designer Papers, I had this idea for a "Seasonal" Wreathe, one I could just change out the papers and have a wreathe for Summer, Fall Winter, Spring, and Holiday, well, you get the idea -- anything I wish.


I made a circle using cardboard, then covered it with Aleene's Tack-It Over & Over Glue. This glue is designed to be used over and over again. It is so sticky, I would advise to "detack" it somewhat by lightly pressing an old t-shirt over it. The lint will transfer and cause the surface to be tacky but not exceptionally so.


While the glue was drying, I cut Designer Pager to fit each of the ID Badges I used for this project. I used 3 sheets of 12x12, one for each size of ID Badge Holder. I was able to get all the cuts I needed for each badge and still have some paper left.


I assembled the wreathe using the larger ID Badge Holders on the outside, then using the next size I layered down until I used the smallest size. I needed a something to enhance the wreathe, and a bow is always nice, but I could have used flowers, since this is for Summer. For Fall I can use leaves, gourds, pinecones, Winter I could use poinsettias, snowmen, Springtime calls for Easter Bunnies, eggs, well, you get the idea -- what ever floats my boat!!!


I just love how this turned out and can't wait to be able to change it up. I made a video of the process HERE, on my YouTube channel, or just watch below.


I hope you enjoyed this cute idea and will consider using these gems in your projects. You can visit their website here to see all the different sizes they have to offer.

Thanks for stopping by!!

Supply List:
Badge Holder #1815-1200
Badge Holder #1820-1000
Badge Holder #1840-5015
K & Company Designer Paper Pak - Lucky Flowers
Aleene's Tack-It Over & Over Glue
Cardboard
Various ribbons and embellies

Wednesday, June 10, 2015

Beyond the Sea Mini Booklet

Oh boy!! Have I found the cutest item ever for making a quick and cute Mini Booklet!! Ya know those ID Badge Holders, the ones you can wear around your neck or attach with a clip? Well guess what!!! They make FUNtastic pages in a mini booklet!!!

I created this for my Granddaughter who has been vacationing at the beach this past week. I thought she might like to print out some of the pics she took and just add them to this cutie. The pocket part of these wonderful ID Badge Holders makes it so simple to add a picture front and back.


I could have made a cover for this mini album, but thought the ID Badge Holders stood fine on their own. Just slip some designer paper in and, whala - instant cover!!! So that's what I did. I used CTMH Seaside Designer Papers for the inserts in all the ID Badge Holders I used. I also "altered" those little Badges, cuz ya know, that's what I like to do also.


One this first page, which is the cover, I added press on sparkly letters to say "Beyond the Sea" right to the outside of the larger ID Badge. If she wants to slip a picture on this side of the Designer Paper she can, and the Title will still show.

I used a smaller ID Badge Holder for page two.


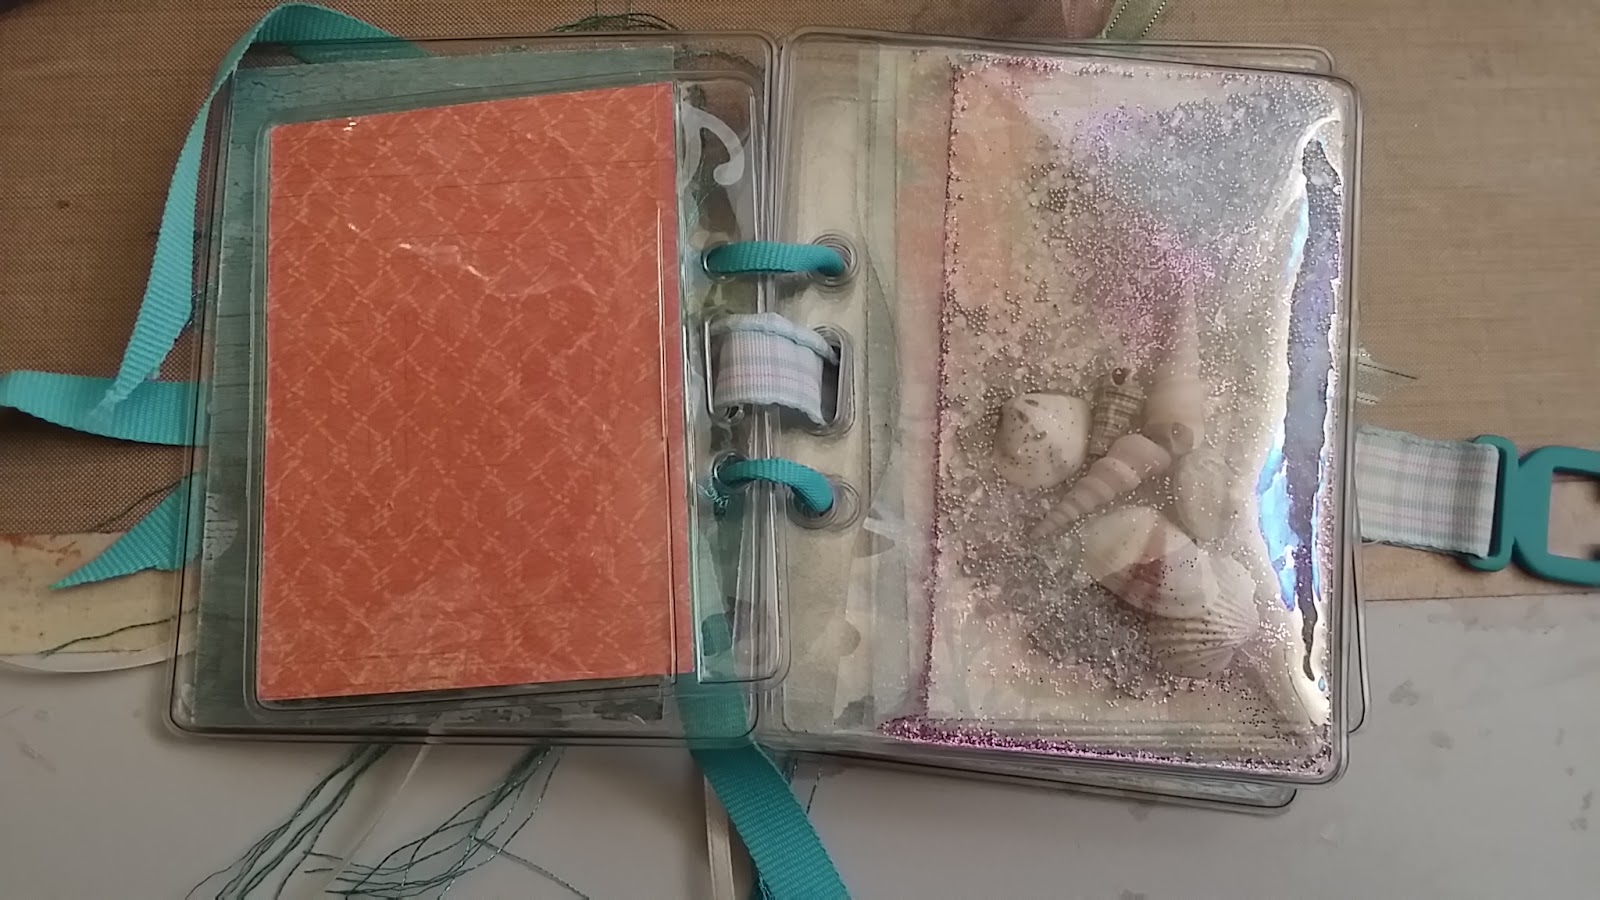
I thought it would be such a cute idea to add some glitter, glass beads and glass glitter along with some tiny sea shells for a shaker for page 3 using the larger ID Badge. I think it is the most adorable ever!!!


For page 4, I used the larger ID Badge Holder and slit it down the middle to form "doors" to open. She can add thumb print pictures to the Designer Paper glued into place on the front, as well as adding them to inside of each door. In the inside, she can add one or several pictures as she likes. Since I had to glue this paper into place, she can't slip a picture on the back side, so I used Rub-Ons to add some Beachy words to the outside of the backside of the Badge. I love how this looks!!!


Page 5 is a smaller ID Badge Holder that she can use both front and backsides on.


Page 6 is my favorite. I slit the larger ID Badge holder on an angle to create a pocket. I glued some of the CTMH Designer paper onto the slit front and in the inside. Then I added a double tag for more pictures in the pocket I created.


And once again, since she can't add a picture to the back side I used more Run-Ons to decorate. I just love that saying!!!

Page 7 is another smaller ID Badge Holder


Page 8 is the back cover. I used the larger ID Badge Holder and just left it plain so she can add whatever pictures she likes.


Now to assemble this... I love using ribbons on booklets and thought since these ID Badge Holders come with holes to add a chain, I would use them to thread the ribbon thru. This also allows my granddaughter the advantage of spreading the pages apart as she adds stuff. All she has to do is untie the ribbon and make it looser.


Now to close it, I had these adorable little clasps. So I strung a matching ribbon thru the slot where a lanyard would go, taping the edges down to hold the clasp. I love how this all co-ordinates with the colors of the sea. I just added some more ribbons and embroidery thread, cuz who doesn't like lots of pretty ribbons!!!


I also made a quick little video you can watch HERE to see the ID Badges Pages up close and see the interactive parts.


I hope you like this cute idea of using ID Badge Holders. Think of the possibilities!!  A New born Baby Booklet with holders for a lock of hair, the first tooth, their name bracelet...  A Christmas Mini Booklet that can be used year after year, just add new pics, keeping the old. A friendship booklet... Booklet of tiny keepsakes...

Please visit their website, by clicking HERE, to see all the great sizes and shapes of these little gems.


Supply List:

ID Badges:
     #1815-1200 measure 4 1/2 inches x 3 1/2 inches
     #1820-1000 measures 3 3/4 inches x 3 inches
CTMH Seaside Paper Pack
Making Memories Cheeky Shimmer Stickers
Making Memories Woven Ribbons and Attachments
My Minds Eye RubOns
Beach Sentiment RubOns
Finnabair Glass Glitter Pearl
Finnabair Glass Beads Crystal
Finnabair Micro Beads Silver
Finnabair Glitter Mardi Gras
Sea Shells

Thank you for visiting my blog.


Saturday, May 23, 2015

Wearing "Art"...

Spark Some Kreativity Saturday @ The Kraaft Shaak

This month's Challenge for the Design Team Members at the Kraaft Shaak is to make something wearable from items in the Multi-Media Kits supplied by Heather. Boy did I have fun with this one!! I couldn't stop, so I made two!! That MultiMedia Kit is just chocked full of items to use!!!  #KSDT2015


I've spoken about this Kit, and have made a video showing all the wonders found inside the kraafty box, and boy, is it packed full of goodness, especially to me, a quasi-jewelry maker. When this challenge was announced, I was just too eager to begin, cuz I knew exactly what I wanted to make -- a bracelet!!!  I just love how it turned out, and  it truly is wearable "Art"...

Here's some pictures of Wearable Art #1:


And if you are interested in how I made this, please watch this video  (On my YouTube Channel) it shows all the steps I went thru to make this pretty, pretty item...

Or view it here below:


Supplies:
Kraaft Shaak Multi-Media Kit:
     Finnabair Mechanicals
     Metal Findings
Vintaj Natural Bass Wire 16 gauge
Various Jewelry Making  and Wire Tools
Swarovski Crystal Beads


And this is Wearable Art #2:


This MultiMedia Kit contains such wonderful items that I just had to make another wearable!! This time I made a T-Shirt Bag!! They are sooooo easy and sooo cute and a great way to recycle an old t-shirt. And anyone who knows me, knows I love to recycle/repurpose items!!!

In the Kit was a Finnabair 6x6 Stencil Doily #3 which I knew would make a wonderful pattern on the t-shirt. I used Permaset Copper Metallic Textile Printing Ink to dab onto the stencil. This ink is permanent when heat set. The Kit also contains sample of various products from the Kraaft Shaak and I used the Lindy's Stamp Gang Magicals to dye the cheesecloth and dryer sheet included in the Kit to make the yummy flower. I also used the round plastic needle point canvas included, to stamp even more patterns onto the shirt.

Our model shows one of the many uses for this generous bag -- pool time!!! Holds several pool towels, your swim suits, sun screen, hats...


If you are interested in how I made this cute bag, and I sincerely hope you are, click HERE or visit my YouTube Channel "taboriginal"

Or just watch the video below:


Supplies:
Kraaft Shaak Multi-Media Kit:
     Finnabair 6x6 Stencil Doily #3
     Lindy's Stamp Gang Magicals
     Cheesecloth
     Dryer Sheet
     Round Needle Point Plastic Canvas
Permaset Copper Metallic Textile Printing Ink
Pebeo Artist Acrylic Paint Quinacridone Pink
Old white T-Shirt

Thank you for visiting my Blog and hopefully watching the videos. I would love to read your comments!!!

Have a great Day and "Spark that Kreativity" today, it's Saturday!!!


Saturday, May 2, 2015

Tickle me with a "Spark"...

Spark Your Kreativity @ The Kraaft Shaak

WOW the only word I can find to describe what Sandra made this month for the Design Team Challenge in the Kraaft Shaak. Sandra always amazes me how she "thinks outside the box" and boy, did she ever on this one!

We are tasked this month to make something wearable from items in the Multi-Media Box from the Kraaft Shaak. Take a look at what Sandra did by clicking HERE for the link to her blog...

#KSDT


Saturday, April 25, 2015

Dana's Spark will Spark you!!!

Oh boy, have I got a treat for you!!! Over in the Kraafters Kommunity on Google+, Heather has assembled a Design Team. Every Saturday there is a new post to "Spark your Kreativity" and did Dana S ever spark it today!!! Please visit her blog HERE to see the gorgeous "Book" she made using many of the items found in the Multi-Media Kit from the Kraaft Shaak.